m (reverting vandalism) Tag: B35 |
(Pe) Tags: Visual edit B35 |
||
| Line 11: | Line 11: | ||
===Operating system=== |
===Operating system=== |
||
Mac, Windows, or Linux are all OK. A 64-bit computer is recommended, although a 32-bit one can run the mod<sup>[Citation needed]</sup>. |
Mac, Windows, or Linux are all OK. A 64-bit computer is recommended, although a 32-bit one can run the mod<sup>[Citation needed]</sup>. |
||
| − | === |
+ | ===PE=== |
| − | The latest version of |
+ | The latest version of pe should be used, and 64-bit pe is required if you have a 64-bit system. |
===RAM=== |
===RAM=== |
||
| − | The mod requires that Minecraft have at least |
+ | The mod requires that Minecraft have at least 1GB of RAM allocated in order to run. A computer with 1GB of RAM is recommended. The mod may run with less RAM allocated if you only have 2GB in your computer, but mileage may vary. See the contents of [[Template:RAM]] for more information on allocating RAM. |
===CPU=== |
===CPU=== |
||
A CPU that can run the latest version of Vanilla should be fine. An Intel i3 or the AMD equivalent can do this, though a better CPU will help run things faster. |
A CPU that can run the latest version of Vanilla should be fine. An Intel i3 or the AMD equivalent can do this, though a better CPU will help run things faster. |
||
Revision as of 12:58, 3 May 2020
This is a tutorial for installing this mod and is written in order to be as approachable as possible for players who have never installed mods. It assumes that you know common terminology such as "browser" and "directory". Please read the directions for your section completely before you begin to follow them. This may prevent some mistakes.
For a tutorial video: Click here.
Note: This video tutorial does not include every step. If you experience problems, please follow the written tutorial below.
System requirements
If your computer is less than 5 years old it is very likely safe to skip this section for now.
In order to run the mod, it is recommended to have at least the following PC specs:
Operating system
Mac, Windows, or Linux are all OK. A 64-bit computer is recommended, although a 32-bit one can run the mod[Citation needed].
PE
The latest version of pe should be used, and 64-bit pe is required if you have a 64-bit system.
RAM
The mod requires that Minecraft have at least 1GB of RAM allocated in order to run. A computer with 1GB of RAM is recommended. The mod may run with less RAM allocated if you only have 2GB in your computer, but mileage may vary. See the contents of Template:RAM for more information on allocating RAM.
CPU
A CPU that can run the latest version of Vanilla should be fine. An Intel i3 or the AMD equivalent can do this, though a better CPU will help run things faster.
GPU
Most desktops will do OK running the game on the integrated graphics, although a separate GPU can help. If you have a laptop with a powered down CPU, a separate GPU will help, any one made after 2014 or so should be adequate.
Storage space
Storage space scales with the number of worlds and therefore the amount of space you'll need depends on the number of worlds you have and the amount of exploration you do in those worlds. 1GB is plenty for storing just game files and one or two worlds, but more space will allow you to keep more worlds.
Internet
If you plan on playing on a server, you'll want broadband internet.
Downloading the Mod/Forge
All of the following downloads will be found in your Home > Downloads folder, unless you have re-directed your downloads for that browser to another location. Don't open any of these files from your browser.
The main page of this wiki has a download link prominently displayed; the same link is provided below. Click the link in the box that says: "The latest mod version is" and you will be directed to a new page.
|
The latest mod version is:
The latest Renewed mod version is:
|
This page has a large green "DOWNLOAD" button displayed on the right side of the screen; select it to download the mod.
Forge can be found here. Follow the following instructions in the "Reccomended" box. If you are running Windows, click Installer Win. If you are running Mac or Linux, choose the Universal option.
This link will take you to an ad page, so don't do anything right away. After 5 seconds (ish), click the "skip ad" button in the top right corner. This will download the forge installer.
Most browsers will simply download this files directly. Firefox may ask you what you would like to do with the file before downloading; click the option to "Save File".
Windows
Now open Minecraft launcher and run it in 1.7.10 to the title screen. You just need to have run vanilla Minecraft 1.7.10 at least once. Do this to be safe if you are not sure. Close minecraft. Navigate to your downloads folder. You should see the forge installer. Open it by double clicking, and it should say at the bottom "C:/Users/<username>/AppData/Roaming/.minecraft". Select download client (one of the little bubbles). Let it run. This may take a few minutes.
Now go to your home button and search %appdata% and press enter. Open the folder named Roaming and go to the .minecraft folder. Right click and make a new folder. Name it "mods", if one does not already exist. Running Forge once to your title screen will create the folder. Go to your download folder and copy and paste the [1.7.10] The Lord of the Rings Mod B... .jar file of the mod into your mods folder.
Go to your Minecraft launcher. Do not press play. In the bottom left there is a dropdown menu called "<playername>" (note that it will be your player name, not actually the word "<playername>"). Click it. There should be a profile named forge. Select it and press play. You should now be able to enjoy what this mod has to offer.
Mac
Now open Minecraft launcher and run it in 1.7.10 to the title screen. You just need to have run vanilla Minecraft 1.7.10 at least once. Do this to be safe if you are not sure. Close minecraft. Navigate to your downloads folder. You should see the Forge installer. Open it by double clicking, and select download client (one of the little bubbles). Let it run. This may take a few minutes.
Now go to Finder. Go up to your toolbar at the top of your screen, and select "Go." The dropdown should contain a "Go To Folder" button. Click this. On your Finder window, a box will be at the top. Type in the box "~/Library". Then find the folder "Application Support". Open that, and find "minecraft". Click on this folder. In this folder, there may or may not be a "mods" folder. If there is, awesome, if there is no, create one, with the same name, case-sensitive. Running Minecraft Modded with forge will create this folder as well. Go to your downloads folder and copy and paste the [1.7.10] The Lord of the Rings Mod B... .jar file of the mod into your mods folder.
Go to your Minecraft launcher. Do not press play. In the bottom left there is a dropdown menu called "<playername>" (note that it will be your player name, not actually the word "<playername>"). Click it. There should be a profile named "Forge". Select it and press play. You should now be able to enjoy what this mod has to offer.
Ubuntu Linux
After having downloaded both files, move them both from your "Downloads" folder to your Desktop, for easy access. Run your MC launcher, whether you use the command line, or an icon on your launcher. Once the launcher starts, click the button at the bottom that says "New Profile". A new window will open, and there will be a line for a name. Name it "1.7.10 Forge", "LOTR", or whatever you will remember. Below that, there will be a dropdown labeled "Version". Click the dropdown and select "1.7.10". Go down some more and find the box labeled "Use JVM Arguments". Check it, and a box that was grayed out will not be. Toward the front of the bar, you will see a bit of text that looks like "Xmx1GB". Change the "1" to a "2". This allocates more RAM to your LOTR profile so that you can play without memory related crashes. Click "Save Profile" at the bottom of the window. Make sure that the profile is selected by going to the lower left of your launcher and making sure that the name of your profile is shown. If it is not, click the dropdown and select it. Click "Play" and let MC load.
You need to run the forge JAR to install forge. To do this, type:
java -jar "
DON'T RUN IT YET!!! Find the forge file on your Desktop and drag the icon into the terminal, right after what you typed. Then place a
"
after the text that appears from dragging in the forge file. Hit <enter> to run the command. A little window will pop up. Select the "Install Client" bubble and click "Install". This may take a few minutes. Let it do it's thing. It will tell you once it has been successful. Open your Minecraft launcher again. Make sure you have the profile you created earlier selected. Click "Edit Profile". Under the versions dropdown, at the bottom, there should now be a version of 1.7.10 with forge installed. Select this, and then press save profile. Click "play". You can quit game once again once it has loaded.
Now, open your file browser. Navigate to the "View" menu at the top of your screen, and click "Show Hidden Files". Find the ".minecraft" folder, which should be located in your home directory. In this folder, there should be a folder called "mods". Place the file [1.7.10] The Lord of the Rings Mod B... .jar, that you downloaded directly into this folder without modifying it in any way. You might want to back up the "saves" folder in your ".minecraft" while you are at it, in order to prevent any of your worlds getting corrupted. Make sure not to play any old Minecraft worlds with LOTR installed, create new ones. To back it up, simply make a copy of the file on your desktop or elsewhere. To switch back to vanilla, just change your profile in the launcher so it has your MC username.
Checking the Installation
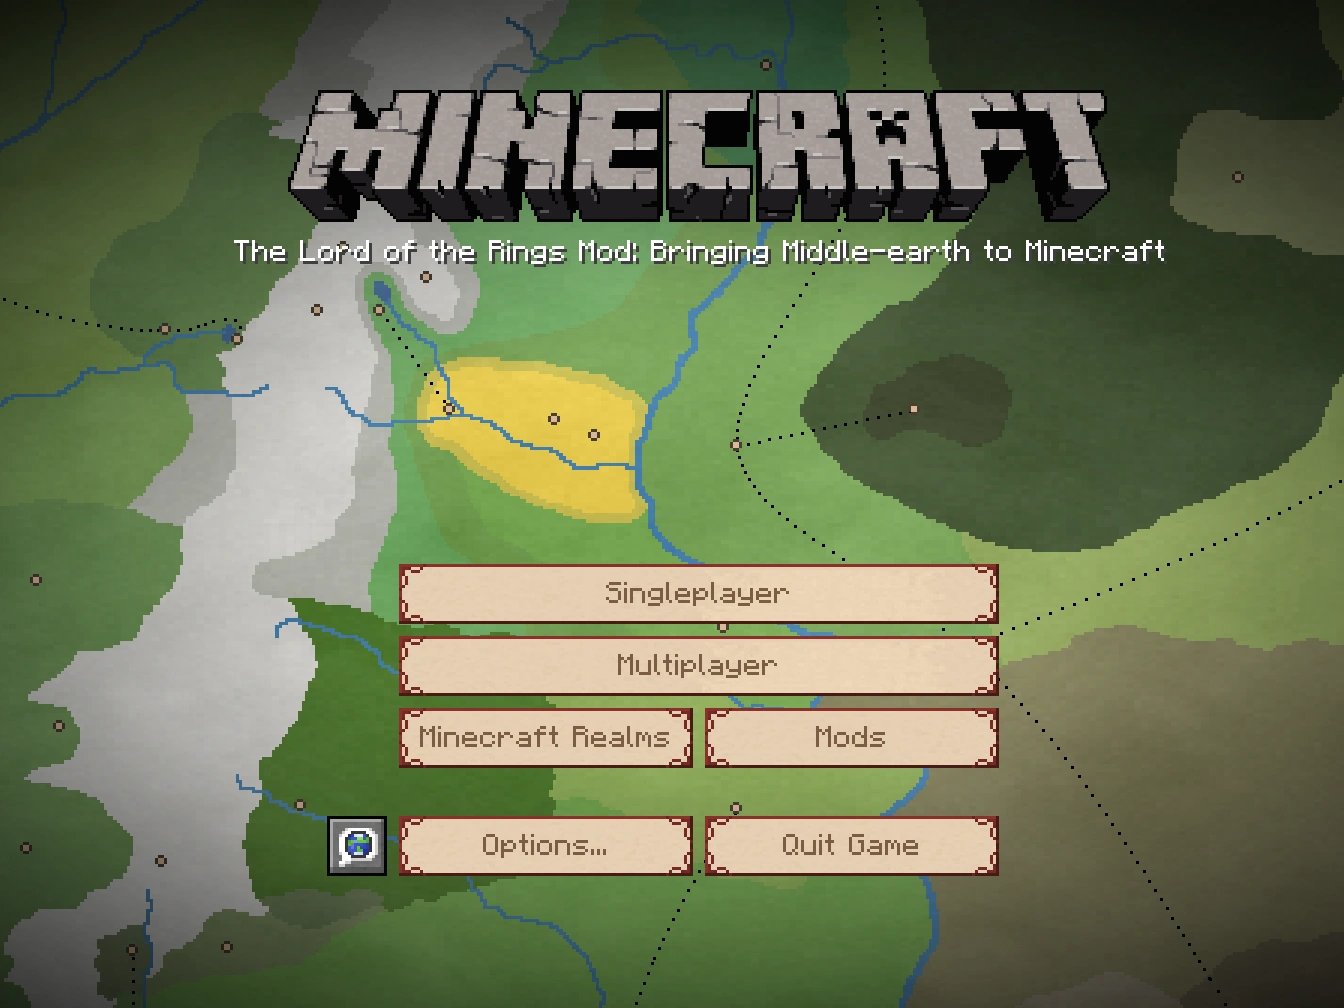
If you see this, the LotR Mod was properly installed.
If everything worked properly, you'll see the LotR map moving around in the background, when watching the Minecraft title screen. This feature was added in Public Beta 30. Also, since Public Beta 25, new world options are available when creating a new world.
Allocating Memory
Note: Allocating memory will require a 64-bit version of java. The recommended amount of memory for LOTR is 2GByte, but if you are using a high resolution texture pack you should allocate more. Likewise, if your computer is limited on memory, you may want to allocate less to be sure that your operating system and other programs have enough memory.
Vanilla launcher
To allocate memory for Minecraft, click on 'Edit Profile' in the lower left corner. At the bottom of that dialogue box is 'JVM Arguments'. Remove all JVM arguments and replace them with -Xmx2G or -Xmx2048M for 2GByte=2048MByte.
Technic launcher
To allocate memory for Minecraft using the technic launcher, click on 'Launcher Options' at the top right corner. Then click on the 'Java Settings' tab and from there you can change the amount of memory to your liking.
Getting into Middle-earth
When making your world: you have two options: Putting the world type to Middle-earth or just vanilla. If you choose to take Middle-earth, you will directly spawn in the Middle-earth dimension.
Otherwise, when you spawn into your new world, you will start off in a vanilla Minecraft world. To get to Middle-earth, you will need to create a gold ring, and throw this into a fire (or lava). When all is said and done, it usually takes one iron ingot, a gold ingot, and a piece of flint to get into Middle-earth.
You can either go into Creative or use TooManyItems to cheat these items in, or you can gather all the things you need within an hour or less. Another option is to use a world seed that spawns you right next to a desert pyramid or jungle temple, and get the loot. Each pyramid/temple will usually have enough loot to create a Flint-and-Steel and a Gold Ring.
What do I do in Middle-earth?
There are countless things to do in Middle-earth. Read the Middle-earth Gameplay Guide to learn more about what you can do in this realm.
I still have a problem!
Post on one of the Technical Support Boards below if you have any questions.
|
LotR Mod & Wiki Help
Mod help:
Mod Installation •
Configuration •
Compatible mods •
Creating a modded server |